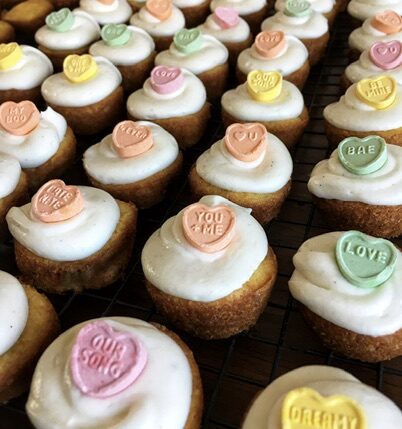
Delicious mini white chocolate cupcakes topped with a swirl of white chocolate cream cheese frosting – so sweet!
Ingredients: White Chocolate Cupcake Clouds
- 1 2/3 c cake flour
- 1 ½ teaspoons baking soda
- ¼ teaspoon kosher salt
- 1 package instant vanilla pudding mix (5.1 ounce box)
- 2/3 cup salted butter room temp.
- 1 1/3 cups sugar
- 1 teaspoon vanilla
- 2 large eggs – room temp
- 1 ½ c buttermilk
- 2/3 cup white choc chips
Ingredients: White Chocolate Cream Cheese Frosting
- 2 ounces of white chocolate (melted)
- 8 ounces of full-fat cream cheese (softened)
- ½ c salted butter
- 1 tsp vanilla bean paste or vanilla
- 4 cups powdered sugar
- 2 Tbsp half-n-half (can substitute whole milk or heavy cream; however, this will slightly shift the consistency of your frosting)
Tools and Timing
- Mini cupcake pan(s)
- Mixing bowls (one large, one medium)
- Electric beaters
- Cooking spray
- Cooling rack
- Spatula
- Mini tongs
- Measuring cups and spoons
- Piping bags and tip
- 2 – 2 ½ hours (Allow 30 minutes for bringing ingredients to room temp; prep and cook time: 60 – 90 minutes; refrigerate for 30 minutes before serving)
- Yield: between 48-60 mini cupcakes, depending on the size of your pans!
Background
One of my favorite go-to cupcake recipes is based on “Brick Street Chocolate Cupcakes.” Last year, a friend asked me to make cupcakes for his wedding. I promptly agreed…thinking I’d make my go-to chocolate cupcakes which I’ve slightly tweaked…but then his fiancée asked for white cupcakes…and if you’ve baked white cupcakes, you know they can be challenging…Challenged accepted! I really wanted to flip my favorite chocolate recipe to be a white chocolate recipe…and after several experiments, I finally got it right! Note: these cupcakes aren’t as fluffy as traditional cupcakes and have a different, melt-in-your-mouth texture. They need to be refrigerated and are best served cold! Enjoy!
This recipe is adapted from Through Her Looking Glass. Frosting adapted from The Recipe Critic.
Step-by-step
- Set out eggs and butter at least 30 minutes prior to baking
- Preheat oven to 350. Spray mini cupcake pan(s) with cooking spray. *Note: I have one ridiculously large cupcake pan which makes 48 cupcake minis at a time…I also have 3 small cupcake pans, each of which cooks 12 mini cupcakes at a time…so, depending on your equipment, this process may take various amounts of time. I’d recommend using ONE RACK in the oven (not using multiple racks), but I have placed 3 mini pans on one rack successfully…
- Once eggs and butter are near room temperature, set out buttermilk (so it can come closer to room temperature as well).
- In a medium bowl, blend dry ingredients (cake flour, baking soda, salt, pudding mix). Set aside.
- In large mixing bowl, cream butter. This means that you use an electric whisk to blend up the butter until it is smooth – this allows your other ingredients to incorporate better. This should take about 15 seconds.
- Whisk in sugar – turn mixer to medium-low and mix until fluffy.
- Then add vanilla – mix until blended.
- Then add eggs – one at a time – mix until blended after each addition.
- Now, starting with your dry ingredient mixture, you will alternate blending the dry ingredients and the buttermilk into your butter/sugar base. Start with 1/3 of your dry ingredients – pour them in and mix until blended. Then, pour in half of your buttermilk and mix until blended. Continue this process until all dry ingredients and buttermilk have been added. (This process goes 1/3 dry, ½ buttermilk, 1/3 dry, ½ buttermilk, 1/3 dry.)
- Finally, add white choc chips. Blend only until the chips are incorporated.
- Spoon the mixture into your prepared baking cups – Fill cupcakes ½ way only!
- Bake at 350 for 6 1/2 minutes, then turn down oven and bake at 325 for 8 more minutes. *You can test for doneness by inserting a toothpick in the middle – if they are not done after 8 minutes, continue to bake but watch and test as you don’t want them to burn!
- Remove tray(s) from oven and set on cooling racks. Working quickly, use your small tongs to remove cupcakes from pans – I place my tongs around the cupcake, and then I twist the tongs around in a circular motion to loosen the edges of the cupcake before lifting it out of the pan and onto a cooling rack.
- Let them cool before filling and frosting.
Allow cupcakes to cool for about 15 minutes before you begin your frosting (I use this time to wash the implements that I’ll need for making my frosting).
Frosting
- Melt your white chocolate – I find this works best if I chop the chocolate into dime-sized pieces and microwave for 30 second increments, stirring between so as not to burn the chocolate. Set aside.
- In large mixing bowl, cream the butter and cream cheese.
- Once blended, add white chocolate.
- Then add you vanilla.
- Once vanilla is incorporated, add powdered sugar, one cup at a time. Blend between each addition.
- Finally, add in the half-n-half.
- *If adding another flavor, gently swirl that addition through the frosting.
- Using a large spatula, transfer the frosting to your piping bag.
- After frosting, transfer to storage container and refrigerate at least 30 minutes before serving to allow the frosting to set.
- *Keep these refrigerated! I find they are best served directly from the fridge!
Serve and Enjoy
Other Options
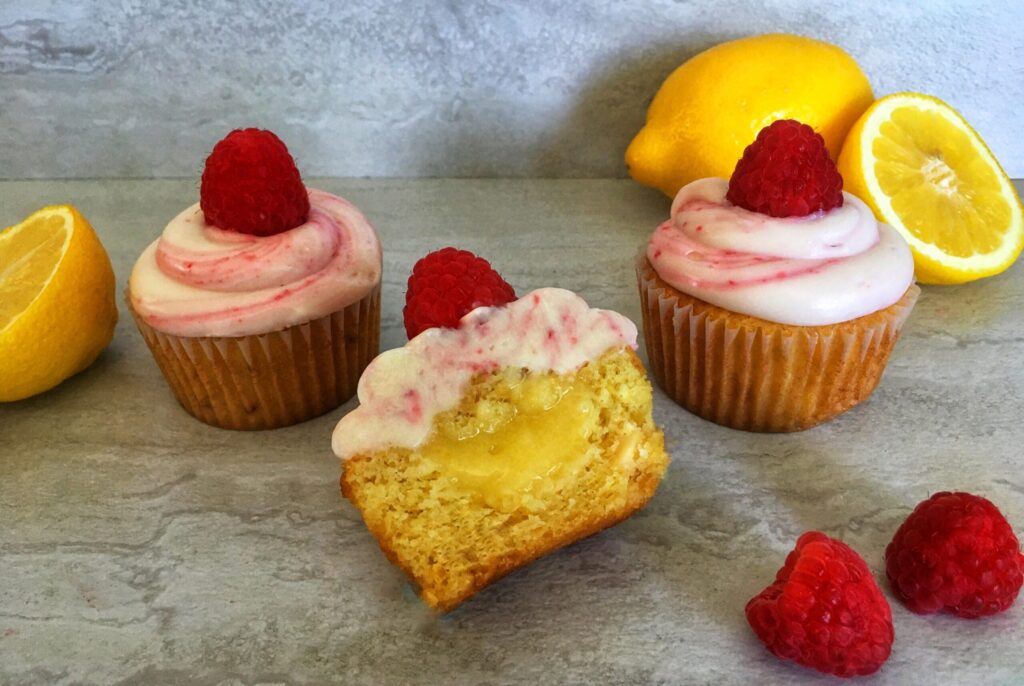
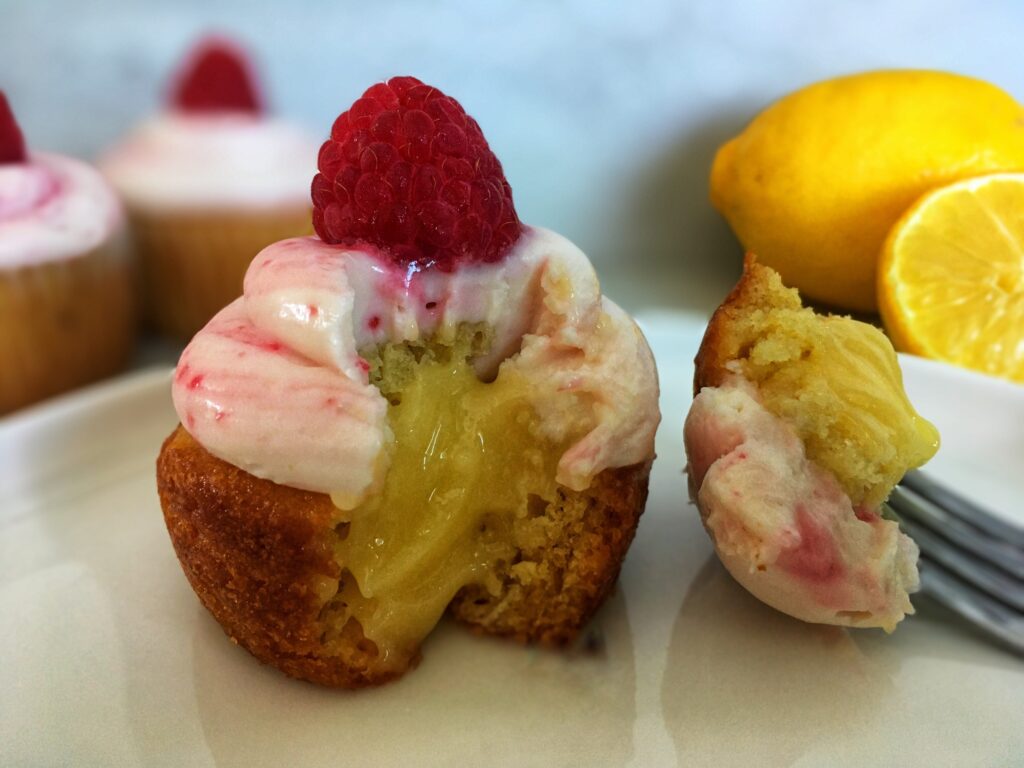
You can also make these as full-sized cupcakes. I add often add a filling in my cupcakes and swirl a flavor into my frosting! If you’d like to make Raspberry Lemon Cupcake Clouds, fill with my Luscious Lemon Curd Filling and swirl my Raspberry Coulis into the frosting!
I’ve also swirled Ducle de Leche with this frosting base (so good!) and filled these with Warm Vanilla Caramel Sauce or Raspberry Coulis.
