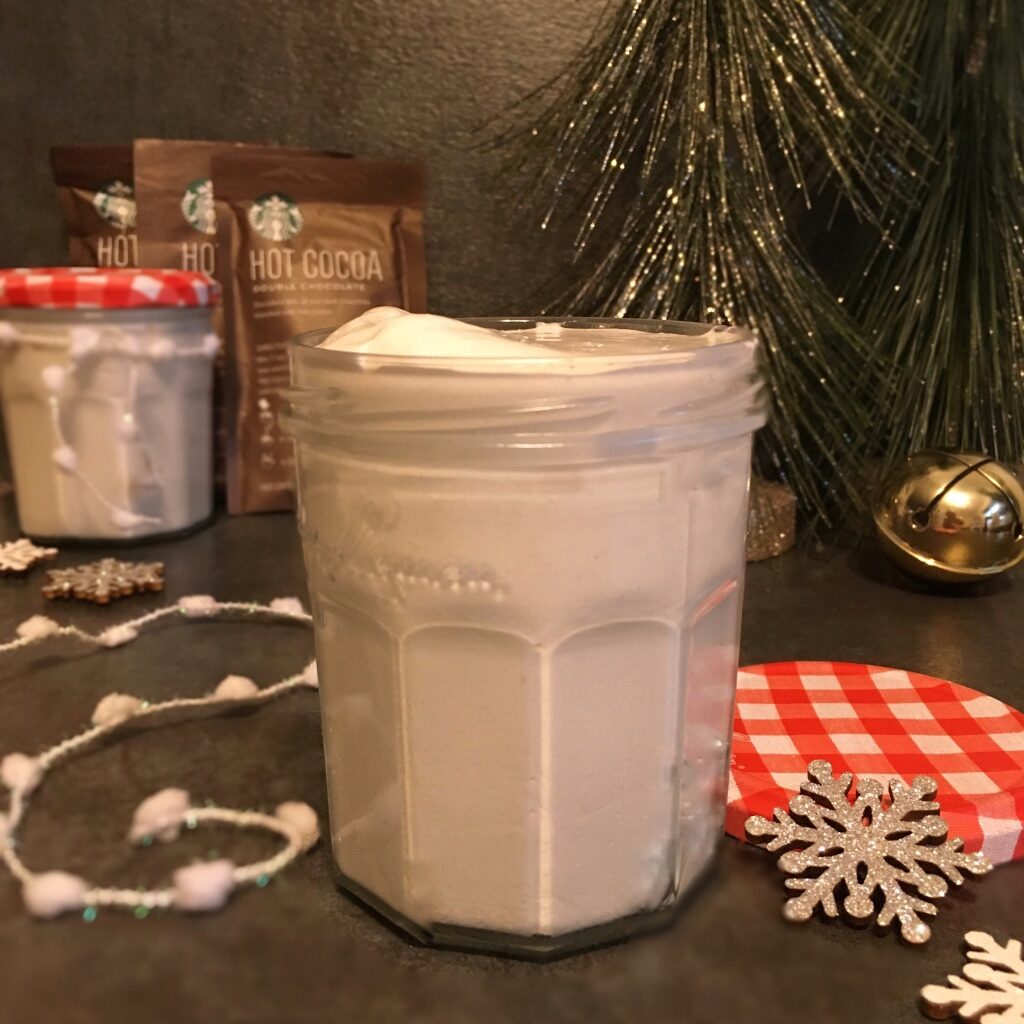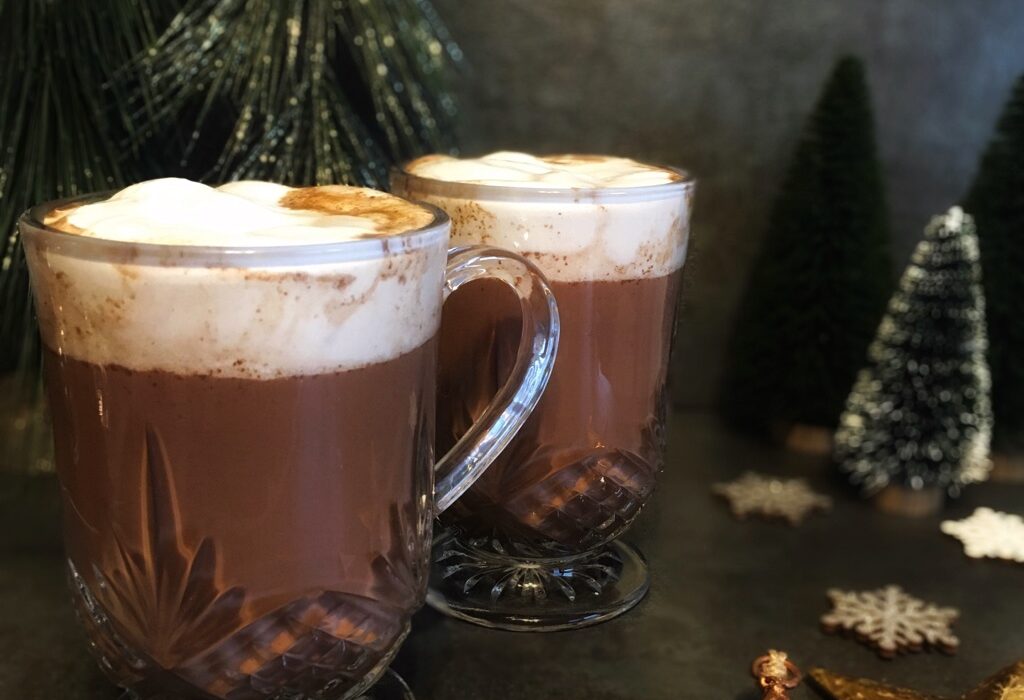
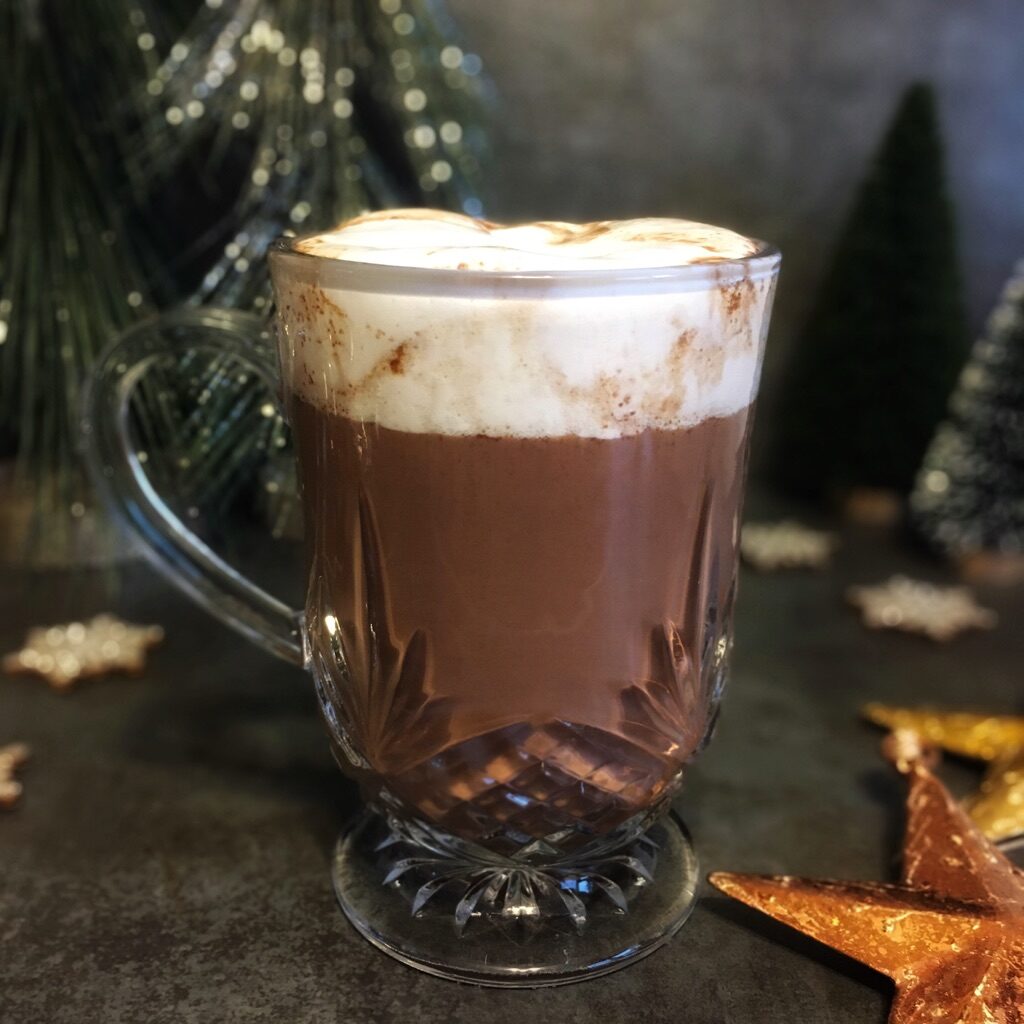
This marshmallow cream is so silky and smooth…and surprisingly doable! All you need is a high temp thermometer…some gelatin…and a sense of holiday adventure! Whipping up a batch of this homemade marshmallow cream in about 30 minutes to serve with cocoa and your favorite holiday movie! Added bonus: this fluff doesn’t need a ‘rest’ period like homemade marshmallows, so you can whip some up in a jiffy!
Ingredients
- 1 packet Knox Gelatine (7 grams)
- 1 cup water, divided
- 1 ½ cups granulated sugar
- 1 cup light corn syrup
- ¼ tsp kosher salt
- 1 Tbsp vanilla
Tools & Timing
- Candy or high heat thermometer (a thermometer that can measure high temperatures; candy usually cooks around 240 degrees F – I honestly used a high temp meat thermometer)
- Large saucepan
- Beaters and a large, glass mixing bowl (or stand-mixer)
- Heatproof whisk or wooden spoon
- Two large, heatproof spatulas
- Measuring cups and spoons
- Storage jars or an airtight container (I use jam jars)
- *Ladle (to transfer to jars)
- Timing: 25-30 minutes
- Yield: about 4 cups
Background
This holiday season, I’ve been experimenting with making homemade bourbon marshmallows (an amusing and delicious endeavor). During this process, I’ve discovered that there are many marshmallow recipes out there…and each offers slightly different techniques and lists of ingredients. So, I’ve decided to experiment to come up with a recipe of my own.
During my most recent experiment, I didn’t use enough gelatin (important side note: if you plan on venturing forth into the land of homemade marshmallows, be forewarned that the way in which many recipes and the Knox Gelatine company explain the necessary amount of gelatin to use can be confusing). I realized the ‘problem’ when my final product was smooth, silky, delicious marshmallow fluff!
So…as part of my quest to concoct bourbon marshmallows, I fortuitously and accidentally made dreamy, silky marshmallow fluff! Enjoy!
This recipe is adapted from the recipe for marshmallows in Sally’s Candy Addiction by Sally McKenney.
PS. During my cooking adventures, I have learned more and more that chemistry matters! In terms of marshmallows (and marshmallow fluff), this means altitude and humidity can impact your marshmallow creation!
To learn more about humidity and candy, check out this article from Better Homes & Gardens. To learn more about altitude and candy, check out this article from The Spruce Eats. *I am near sea level in southern California…
Step-by-step
Since this process requires you to whisk continually once you’re at the marshmallow making step, it’s important to have all of your components ready to go before you start!
Prep ahead:
- Measure ½ cup of water and place in fridge to chill.
- Measure out 1 Tbsp of vanilla and place it in a small prep bowl – you won’t want to stop whipping your marshmallows to do this later!
- Fill your sink with hot, soapy water (this is a sticky endeavor, so you’ll want to soak some things immediately – trust me).

When you’re ready to begin:
- Pour your chilled ½ cup of water into a large glass mixing bowl (I use a 2 quart bowl for this – you’ll need lots of room to beat your marshmallows). Sprinkle your gelatin as evenly as possible onto the water. Without turning the beaters on, gently stir the gelatin into the water so it’s moistened. The gelatin will begin ‘to bloom’ in the cold water as it sits while you cook your syrup. (When gelatin ‘blooms,’ it soaks up the water and becomes a thick gel – hence, gelatin!)
- Begin your syrup: in a large saucepan, measure your 1 1/2 cups of granulated sugar, 1 cup of light corn syrup, ¼ tsp of salt, and your other ½ cup of water. Turn heat to medium and begin to whisk (or stir with wooden spoon).
- Stir slowly and constantly until everything is incorporated (about 1 – 2 minutes).
- Once everything is incorporated, continue to cook WITHOUT STIRRING until the mixture reaches 240 F (this takes about 10-12 minutes, so begin to test the temperature at 10 minutes – and remember not to touch the bottom of the pan with your thermometer). It will take about 3 minutes for the mixture to begin to boil and another 3 minutes to come to a rolling boil (it’s at about 223 degrees now); then, the mixture will cook at a rolling boil for the remainder of the time.
- Once the mixture reaches 240, turn off heat and move the pan off of the burner (I place it on another, cool burner to rest for a moment). Get ready to mix it into your gelatin (all of the water should have been incorporated into the gelatin by this point): Set your beaters on low. Whisk the gelatin for about 15 seconds. Then, slowly pour the syrup directly into the center of the bowl with your gelatin and water. Careful, as it’s hot! Use a rubber spatula to scrape out all of the syrup mixture from your pan (you can turn off your beaters for a moment to accomplish this if using hand-held beaters) – then place pan and this spatula into hot, soapy water.
- Once all of the syrup has been added, gradually increase the speed of your beaters to high (I increase the beater speed by 1 increment every 15 seconds – so this takes me 1 minute and 45 seconds).
- Once your beaters are on high, beat on high for 10 minutes (until the mixture looks thick and glossy).
- Add 1 Tbsp vanilla and beat for 1 more minute.
- Turn off beaters (and place them into hot, soapy water).
- Using a ladle and a second, greased spatula, transfer to jars (or storage container).
- Put glass bowl and any remaining sticky tools into hot, soapy water.
Serve and Enjoy
You have the option to serve your magical marshmallow fluff immediately or save it for later!
This marshmallow fluff should be stored at room temperature. It lasts well for at least a week.
This is also makes a great gift! Just add a cute bow and a few packets of cocoa…and voila…giftable holiday cheer!