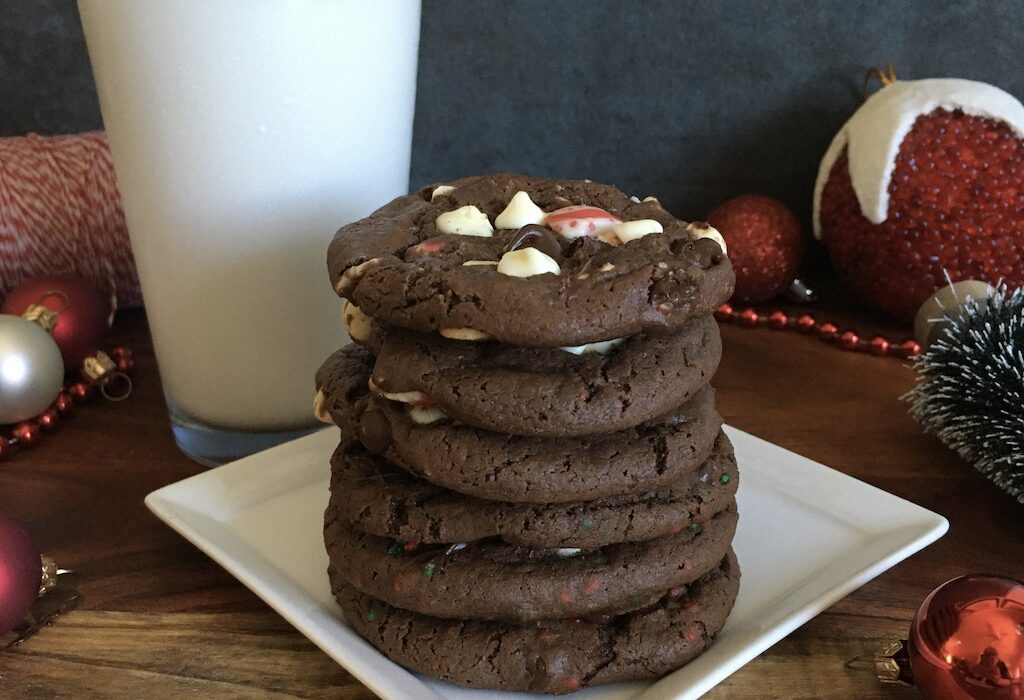
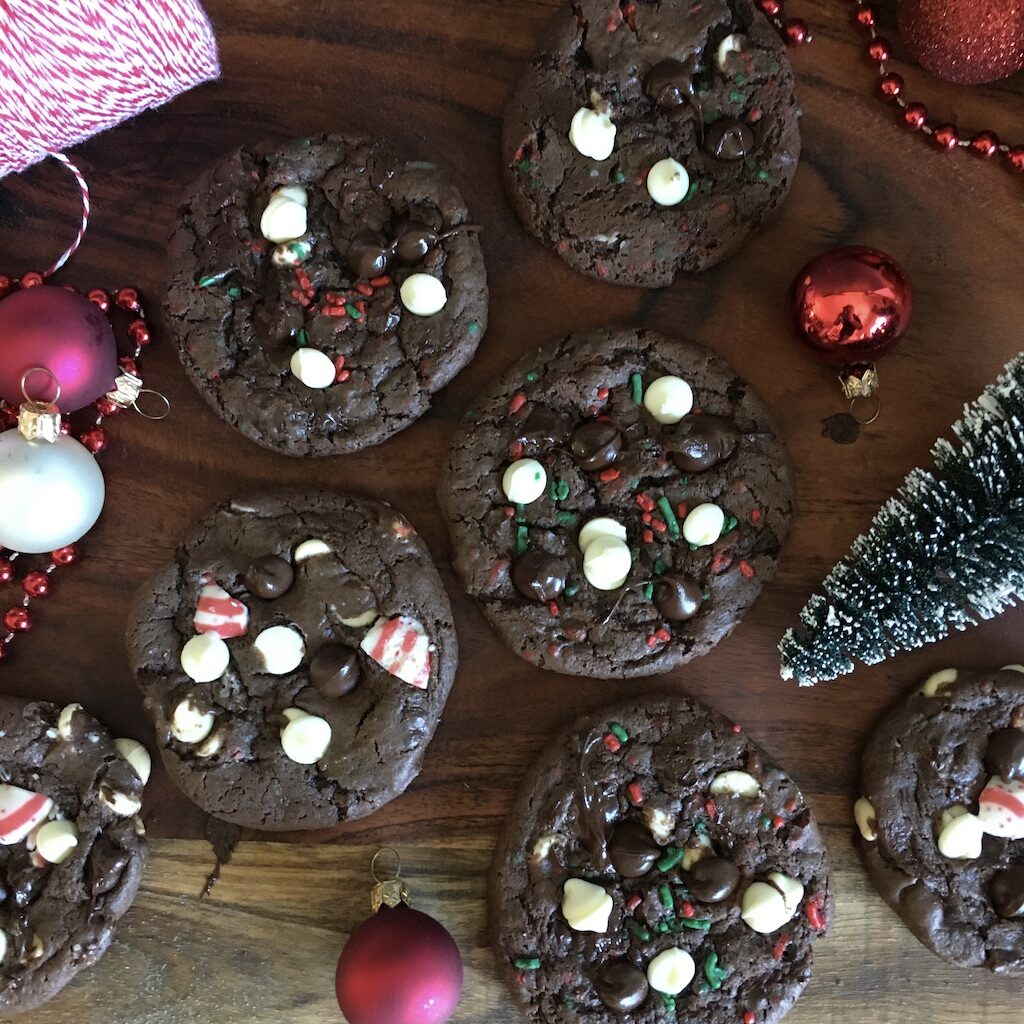
Easy chocolate cake mix cookies mixed with Christmas peppermint kisses bring a little Christmas magic your way.
Ingredients
- Box of Devil’s Food chocolate cake mix
- ½ cup vegetable oil; make sure it’s fresh
- 2 eggs
Mix-ins Option 1: Dark Chocolate Peppermint Christmas Kiss Cookies (my favorite)
- *total of 1+ cup; plus more for tops of cookies – see 9 below
- 1/3 cup semisweet chocolate chips
- 1/3 cup white chocolate chips
- ½ cup Hershey’s Candy Cane Kisses, chopped, plus more to top (this is about 20 kisses; I chop 3 – 4 extra kisses for the tops of the cookies)
Mix-ins Option 2: Dark Chocolate Christmas Sprinkle Cookies
- *total of 1+ cup; plus more for tops of cookies – see 3 and 9 below
- 1/3 cup semisweet chocolate chips
- 1/3 cup white chocolate chips
- ½ cup Christmas sprinkles, soft
Tools & Timing
- Beaters
- Large mixing bowl
- Rubber scraping spatula
- Cutting knife (if using peppermint kisses)
- Cookie spatula
- Tablespoon (don’t use a cookie scoop!)
- Cooking spray
- Two – three large baking sheets
- Brown paper bag (optional, but recommended – see notes) or cooling racks
- Total time: about 45 minutes
- Yield: about 22-24 cookies
Background
I’ve been making these cookies since I was a kid! I don’t know where the original recipe comes from, but I’ve definitely added a few of my own tips, tricks, and mix-ins to this version. Enjoy!
Step-by-step
- Preheat oven to 350. Prep your baking sheets with cooking spray.
- Take care of any potential prep work before you begin: If using Candy Cane Kisses, chop them into smaller pieces (try for chocolate chip size). Next, prep your brown paper bag: cut along the edges so you can open the bag out flat. Lay the bag out on open counter space (or the kitchen table). Make sure if there is printing on the bag, it is facing down. *If using cooling racks, skip this step.


- In your large mixing bowl, combine cake mix, eggs, and oil. Beat until combined. *You want your oil to be fresh since there are only two ingredients that we are adding to the cake mix!
- Once combined, add your mix-ins. Beat to combine. *Sometimes, I divide the dough in half…and make half a batch with the Candy Cane Kisses mix-in option combination and half a batch with Christmas sprinkles mix-in option combination! Just make sure you put a little over ½ cup total of your mix-in combination in a half batch of dough!
- Now comes the ‘hands-on’ fun: carefully spray your hands with cooking spray! Using a tablespoon, scoop out about 2 Tbsp of dough; the dough will be sticky – that’s why we sprayed our hands! Form into a ball and place on baking sheet, 2 inches from edges. Continue this process, leaving 2 inches of space between balls of dough. (I usually cook 8 cookies per large cookie tray to give them room – so I do three rounds of bake time.) *If using sprinkles in your mix-ins, press a few onto the tops of your cookie dough balls before baking – they stick better this way.
- When sheet is full, place in oven on center rack. Set timer for 7 minutes.
- Prep your next sheet of cookies (cause your hands are still greased).
- The cookies will expand and puff up as they bake. So, after about 7 minutes of bake time, use a cookie spatula and gently tap cookies back down. (I don’t take the tray out of the oven to do this – I simply pull the oven rack out part of the way.)
- Continue to bake another 3 minutes (for a total of 10 minutes).
- Cookies are done when the edges look firm but the centers do not.
- When the cookies are done, remove them from the oven. Let rest on the pan for 1-2 minute(s) – take this time to artfully add a few more chocolate chips, sprinkles, or pieces of peppermint swirl chips to the tops. Then, using your cookie spatula, transfer them onto your brown paper bag.
- Let cool completely on brown paper bags (or wire cookie racks).
Serve and Enjoy
*Or store in an air tight container; these last well for about 5 days.
Tips, Tricks, and Tweaks

Years ago, I read that using brown paper bags to cool your cookies helps draw out some of the oil and thus yields a better cookie! I tried it with these cookies, and I loved the result!
Using fresh oil is important in these cookies – I like to buy my vegetable oil in smaller containers so it stays fresh (because I use up my container more quickly).