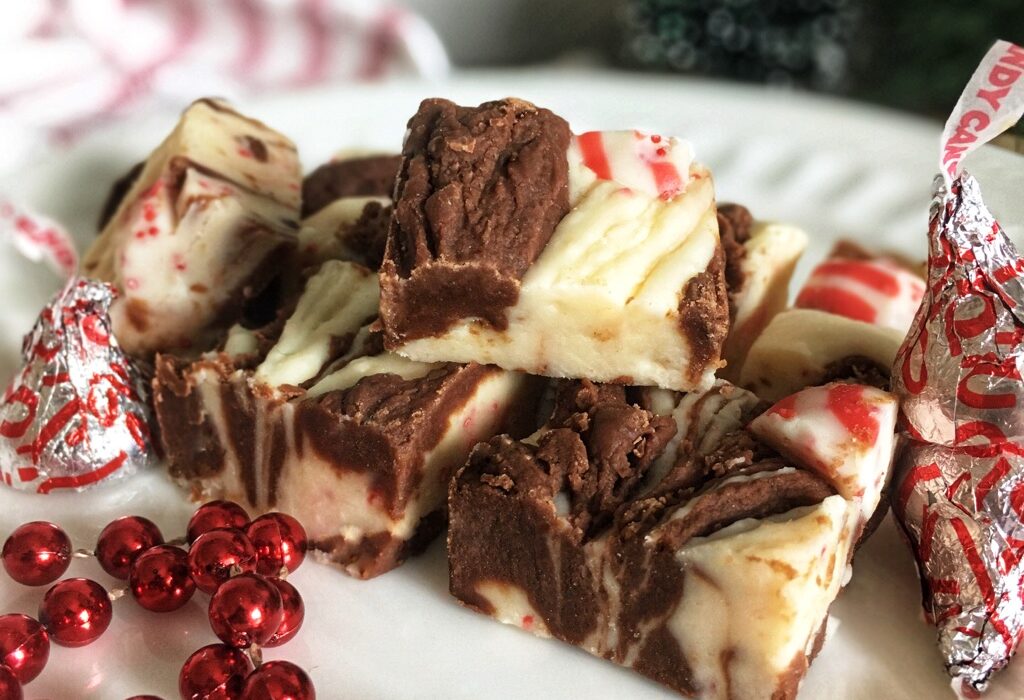
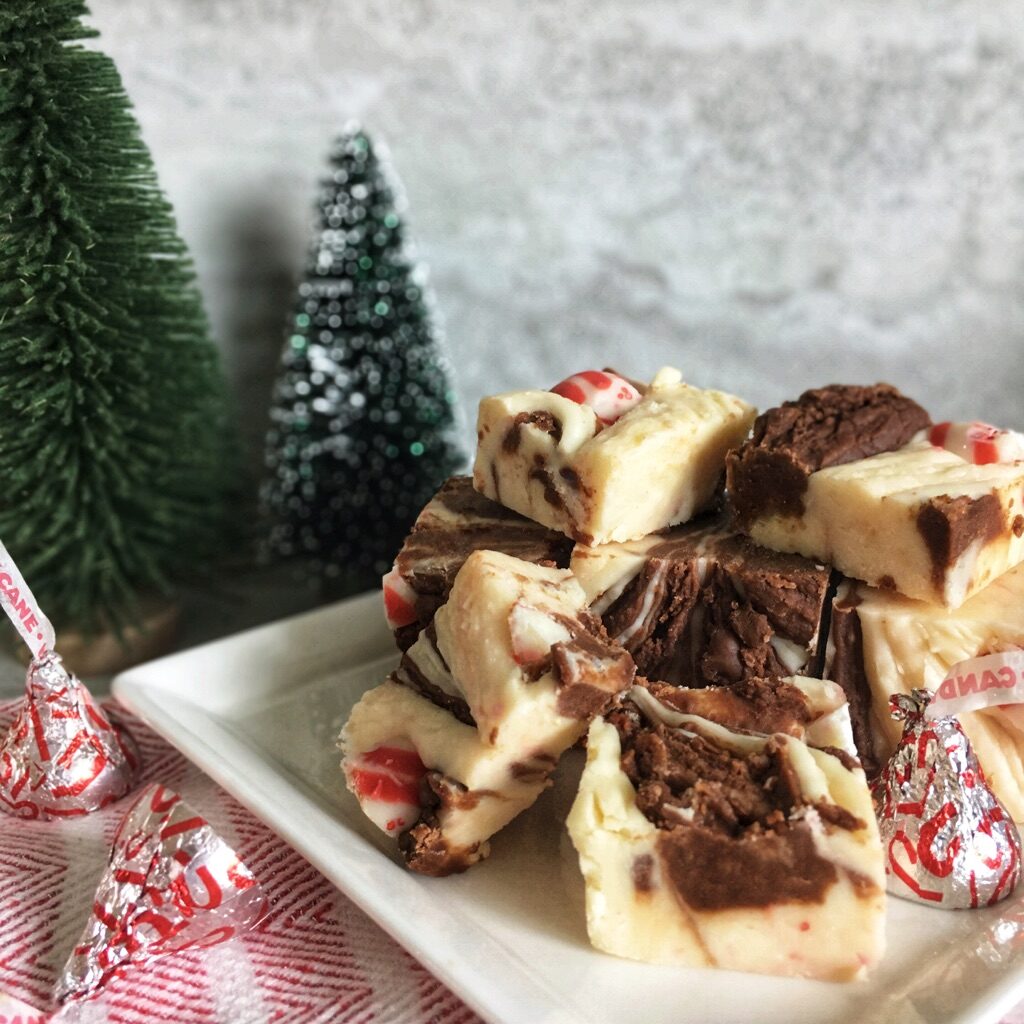
Swirls of rich semisweet and white chocolate fudge and a kiss of peppermint make this fudge a Christmas favorite!
Ingredients
- ½ cup salted butter
- 3 five-ounce cans evaporated milk, full fat (you’ll need 13 ounces – see background); or a 17-ounce container
- 4 ½ cups granulated sugar
- About 1 ½ cups (9 ounces) semisweet chocolate chips
- About 1 ½ cups (9 ounces) white chocolate chips
- 30 Hershey’s Candy Cane Kisses, chopped
- 1 jar marshmallow crème
- 1 tsp vanilla extract, divided
Tools & Timing
- Large saucepan (see notes)
- Heatproof whisk
- 2 Heatproof spatulas
- Can opener
- Two large prep bowls; one glass
- 8×8 or 9×9 baking dish
- Foil
- Kitchen scale, glass measuring cup marked with ounces (optional but recommended), or measuring cups and spoons
- Timing: About 25 minutes to prep and cook; about 90 minutes to cool; optional 2 hours to chill (2-4 hours total)
Background
This recipe is an adaptation of a family friend’s favorite fudge recipe. Unfortunately, back in the day, evaporated milk was sold in 13 ounce cans! Now, you can buy either 5 ounce cans or 12 ounce cans…so I tried this recipe with 1 ounce less of evaporated milk…and it was a no-go! So…we do the extra work because this is THE BEST FUDGE. Pretty much EVER.
While the base recipe itself is delicious, I changed the recipe for the holidays by adding a layer peppermint-kissed white chocolate fudge. Enjoy!


Step-by-step
- Line your baking dish with foil (make sure the foil comes up over the edges so you can easily remove the fudge once it’s done).
- Prep your peppermint kisses: unwrap and chop 20 kisses (I usually chop them into 3 or 4 pieces each). Place these in one small prep dish and set aside. Then, unwrap and chop the rest of your kisses and place them in a separate prep bowl (these are to decorate the top of your fudge).
- Measure white chocolate, 1/2 tsp of vanilla, and 1/2 of the marshmallow crème into a large glass mixing bowl. *If you are not using a kitchen scale, level out the chocolate chips and leave some space as you measure since 9 ounces is a teeny bit less than 1 ½ cups of chips! Set aside (we will make this layer second).
- Measure chocolate chips, 1/2 tsp of vanilla, and the rest of the marshmallow crème into your other prep bowl. Set near to hand.
- Place butter, granulated sugar, and evaporated milk into large sauce pan. Make sure the saucepan is large as the sugar mixture will expand as the sugar cooks!(*To measure your evaporate milk, either use a kitchen scale…a glass measuring cup marked for ounces…or pour in your first two entire cans of evaporated milk and 1/3 cup plus ½ Tbsp of your third can.) Don’t get rid of that extra evaporated milk – you can use it in your coffee…or in mac and cheese…it’s surprising how many ways you can use it, and it’s good in the fridge for 5 days.
- Turn heat to medium. Whisk slowly and constantly and bring to a boil (takes about 6 minutes).
- Once boiling, set a timer for 6 minutes. Continue to stir constantly for the entire 6 minutes that the mixture boils.
- After 6 minutes, remove from flame. Pour half of the mixture into your glass prep bowl that has the white chocolate chips.
- After removing some of your sugar mixture, add your semisweet chocolate chips, marshmallow crème, and vanilla (your second prep bowl) to the sugar still in your saucepan.
- Alternate between your two mixtures – I usually stir one for 30 seconds, then the other. Stir firmly and constantly until all chips are melted in both bowls.
- Once both mixtures are smooth, quickly fold in your 20 chopped kisses.
- Working quickly, pour 3 rows of your semisweet chocolate mixture into your baking pan. Then, pour your white chocolate in the spaces between.
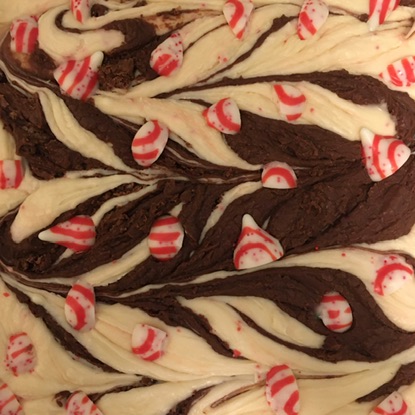
13. Use a knife to create swirls by dragging the knife through your fudge – working from the top of the pan to bottom in squiggly lines, swirl your knife through the fudge. Then do the same thing from left to right.
14. Decorate the top of your beautiful fudge with remaining chopped peppermint kisses.
15. Set baking pan on a cooling rack and cover with foil. Allow to cool for 90 minutes to room temperature (you can check this by placing your hand on bottom of the pan in the middle – if it’s cool underneath, it’s done).
16. Once done, you can cut and serve or place in the fridge to store for later (I usually put my fudge in the fridge, but I like firmer fudge – if choosing this option, let the fudge set in fridge for 2 or more hours). *If storing in the fridge, remove from fridge and allow to rest on the counter for about 5 minutes before you plan to cut and serve (this will make it a bit easier to cut).
Serve and Enjoy
This fudge lasts well in the fridge in an airtight container for up to 3 weeks. This makes it a GREAT make-ahead option as well as a fantastic component for holiday gift boxes!

Tips, Tricks, and Tweaks
Make sure you use a large saucepan for this recipe. Sugar mixtures expand as they cook and boil!