
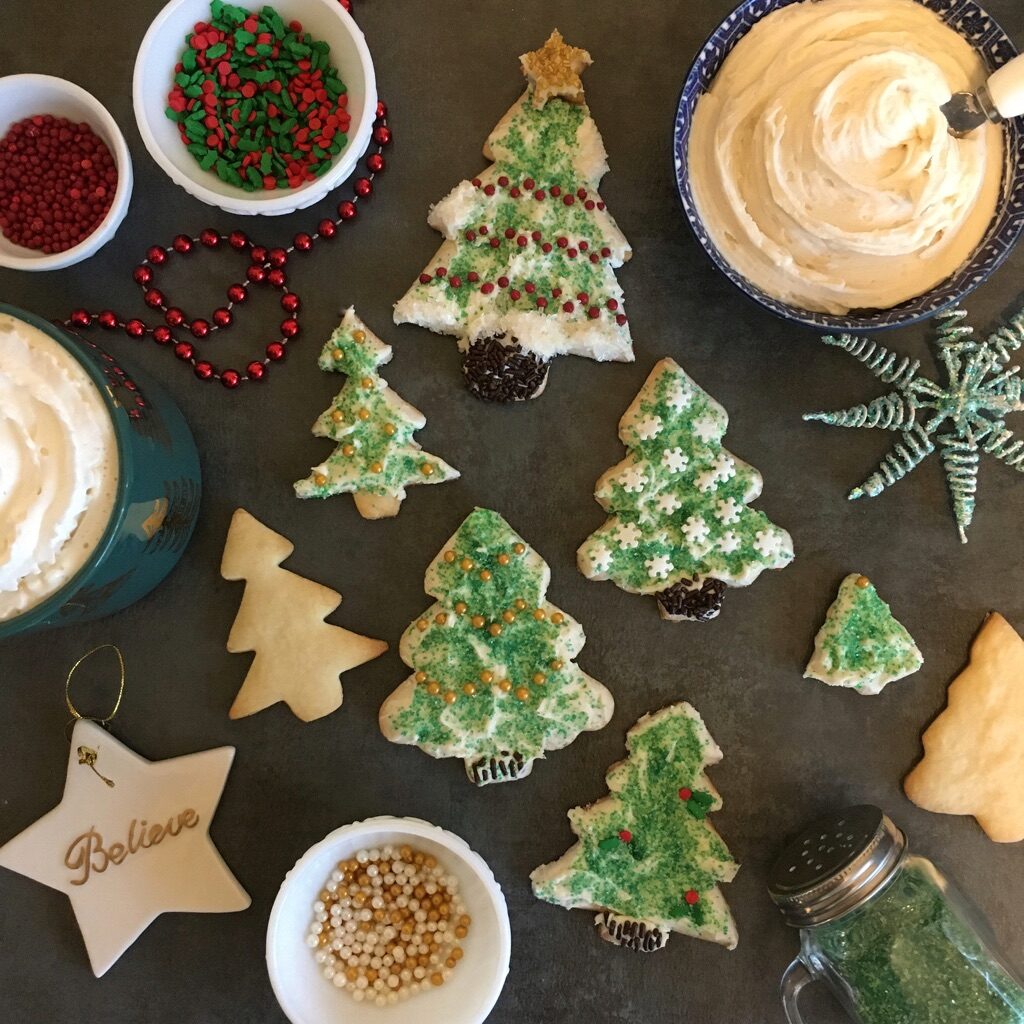
Make it feel like Christmas with old-fashioned sugar cookies smothered in sweet frosting and bedecked with sprinkles!
Ingredients
Dough
- 2 ½ cups all-purpose flour
- 1 tsp cream of tartar
- 1 tsp baking soda
- 1 cup (2 sticks) salted butter, softened
- 1 ½ cups powdered sugar
- 1 egg
- 1 ½ tsp vanilla extract
Frosting
- ½ cup (1 stick) salted butter, softened
- 2 Tbsp vanilla extract
- 3 ¼ cups (1 lb.) powdered sugar
- 1-2 Tbsp Half-n-half or whole milk
- Various Christmas sprinkles
Tools & Timing
- Beaters
- 2 Mixing bowls
- Wax paper and plastic wrap
- Large cutting board
- Rolling pin
- Various Christmas cookie cutters
- 2-3 cookie sheets
- Cooking spray
- 2-3 cooling racks
- Cookie spatula
- Frosting spreaders (or spoons)
- Tweezers (optional, but recommended for fancy sprinkle placement!)
Timing: Initial prep: 10 minutes; Dough prep (chilling and returning to room temp): at least 3 ½ hours; Make, bake, frost, and decorate: 60+ minutes (depending on how you decorate!)
Background
I’ve been making these cookies every year for Christmas since I was a kid. My mom got this from a friend of hers years ago…and both she and I have made a few changes over the years…and now they’re a family favorite! Hope they are for you and yours too! Enjoy.
Step-by-step
*Set out your butter at least 30 minutes early so it can begin to come to room temperature.


Make your dough
- In medium prep bowl, combine your dry ingredients: flour, cream of tartar, and baking soda. Set aside.
- In your second prep bowl, cream your butter by beating it on low for about 30 seconds. Add vanilla, egg, and powdered sugar. Beat to combine.
- Working slowly, add your dry ingredients into your wet ingredients (I usually do this by adding 1/3 of my dry ingredients and whisking, then repeating this process until all of my dry ingredients have been incorporated).
- Use a rubber spatula to scoop dough onto wax paper. Form into a ball and wrap in wax paper. Then, wrap in plastic wrap.
- Chill for at least 2-3 hours (often, I make the dough the night ahead).
After dough has chilled, take it out of the fridge and let it come back to room temperature (this usually takes at least 45 minutes, depending on how cold it is in the house).
When your dough is ready to bake (the dough should be moldable without cracking).
- Preheat your oven to 375.
- Lightly grease your cookie sheets with cooking spray.
- Gently mold the dough into a round shape (this helps test to see if the dough can be malleable without cracking). Cut into 2 or 4 sections – you will roll out one section at a time. (You can also save dough in the fridge to use later; the dough lasts well for several days.)
- Using a rolling pin, roll dough out to about 1/8” – make sure you use a consistent pressure and alternate the direction in which you roll every few rounds so you roll out your dough uniformly.
- Make sure you dust your cookie cutters in flour, then place them on your dough. (I like to place all of my shapes first before pressing them all down so I can make the best use of the space I have.) Double-check to make sure your shapes all fit.
- Press cookies cutters down firmly to completely press through the dough; then, working one at a time and from the outside, wiggle each to separate the cut cookie from the dough. Leave the dough in the cookie cutter to pick it up and transfer it to the pan. Then, hover the cookie cutter over your cookie tray and gently press the shape out. Continue this process, leaving about 1/4” between cookies until.
- Place your first tray in the oven; bake at 375 for 7-8 minutes (these take 7 minutes in my oven); cookies are done when the edges begin to turn light brown.
- As your first tray begins to cook, roll out your dough again (reform the dough into a ball and use the same process as above to roll it out – I usually roll out my dough 2-3 times this way – after that, the dough gets too much flour worked in and becomes tough). Fill another cookie tray as your first cookies bake.
- When your first batch of cookies are done, remove pan from oven and immediately transfer to cooling racks. Work from the outside in, and work to use your spatula so it provides support underneath the thickest and longest part of each cookie (for example, when moving gingerbread men, I start at the head and slide my spatula from head to toe).
- Place next tray in the oven, and repeat all steps until you’ve used and baked most of your dough.
- As your last cookies begin to cool, begin to prep your frosting.


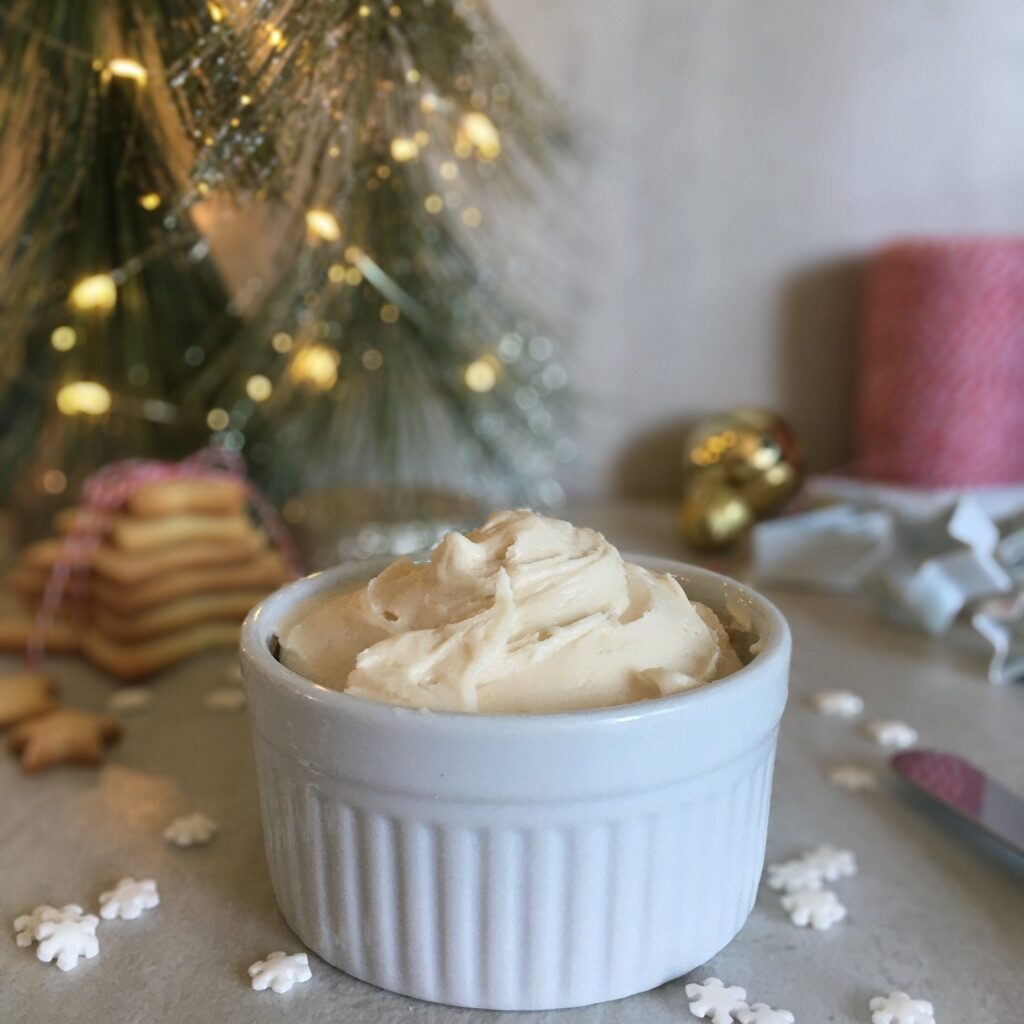
Frosting
- Cream butter.
- Add vanilla and beat until combined.
- One cup at a time, incorporate powdered sugar.
- Add 1 Tbsp of half-n-half; if frosting is too thick, add more half-n-half, 1 tsp at a time until frosting is desired consistency (you want it pretty thick for these cookies – it will hold and support various sprinkles better – I usually use 1 ½ Tbsp).
- Frost and Decorate (and maybe sample a cookie or two)!
- Have so much fun (and maybe listen to some Christmas tunes or watch Rudolph)!
Serve and Enjoy
Cookies can be stored at room temperature in a sealed container for about a week – these have never lasted longer than that at my house…so that’s what I know!
Tips, Tricks, and Tweaks
- I keep a pair of ‘food’ tweezers in my kitchen – they come in handy for things like artistic sprinkle placement!
Other Options
- If you have cookie cutters that are the same shape but different sizes, you can make cutout sandwich cookies – so cute and easy!
- I have also been known to serve unfrosted cookies with a bowl of ‘frosting dip’ – it’s a fun holiday app!