Warm spice, rich raisins, browned butter, and white chocolate – these are sure to be a new favorite cookie!
Ingredients
- 2 sticks of salted butter
- 2 ½ cups flour
- 1 tsp baking soda
- ¼ tsp kosher salt
- 1 ½ Tbsp pumpkin pie spice
- 1 cup + 2 Tbsp dark brown sugar, packed
- ½ cup granulated sugar
- 2 tsp vanilla extract
- 2 large eggs, room temp.
- 1 cup raisins, plus more to top (mixing in some golden raisins is optional)
For the White Chocolate Drizzle:
- 16 ounces white Candyquik melting chocolate
- 1 tsp vegetable (soybean) oil
Tools & Timing
- Small saucepan
- Flat-bottomed glass bowl/baking dish (for cooling your browned butter)
- Plastic wrap (or lid for glass container)
- Heatproof whisk and spatula
- 2 baking sheets
- Parchment paper
- Beaters
- Wooden spatula
- Large mixing bowl
- Measuring cups and spoons
- Wax Paper
- Cutting board
- Knife
- Microwave safe bowl (medium sized)
- Ziplock bag (sandwich or quart)
- Scissors
- About 2 ½ hours (including prep time for browned butter)
- Yield: 30 – 36 cookies


Background
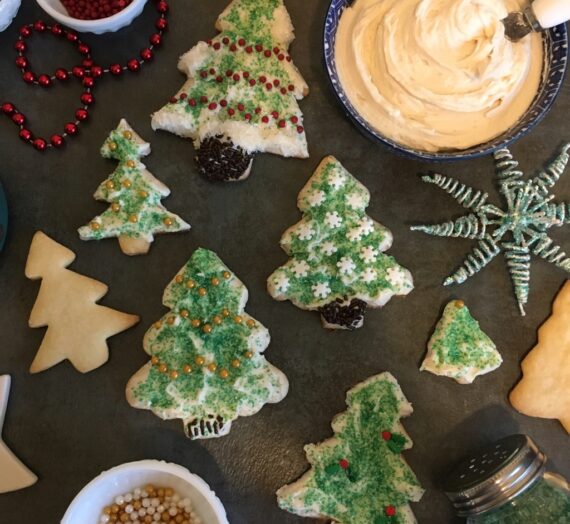
As a child, my mom used to take us to this cute little mining town called Julian. On the way, we’d always stop at Dudley’s Bakery for yummy bread and their signature fruit bars…I love these bars so much, I made it a goal to attempt my own version.
The warm, rich flavors seemed perfect for an addition of white chocolate drizzle…and they were! These are cookie heaven!
This recipe is adapted from Baker by Nature
Step-by-step
Brown the Butter
*Begin this process 75 minutes before you want to start making your dough (you can always brown the butter the night before).
- Measure out ½ cup of salted butter. Cut it into pats and place it in your saucepan (this is 1 stick of butter, if you buy it that way). Measure out your other ½ cup of salted butter and prep it by cutting it into pats (this makes it easier to incorporate later).
*Note: if you only have unsalted butter, you can sprinkle ¼ teaspoon of salt onto each ½ cup of butter you use!
- Turn heat to medium-high, and swirl the butter as it melts (so it doesn’t burn). Once the butter melts, continue to cook, whisking constantly, until the butter takes on a rich, caramel color (you’ll begin to smell a rich flavor, like brown sugar candy, and see a dark caramel color begin at the center of the cooking butter – once this happens, keep cooking and whisking until all of the butter is browned – about 10-15 more seconds – watch closely). This entire process, once melted, takes about 1 ½ minutes.
- Remove the butter from the heat and immediately whisk in your other ½ cup (stick) of butter. Keep whisking until the butter is fully incorporated. (This entire process takes about 3 minutes.)
- Pour into your flat-bottomed glass container (the butter may separate a bit during the cooling process, so a flat-bottomed container helps maintain consistency). Cover and place in the refrigerator for 60-75 minutes (until firm). Once firm, and you are ready to make your dough, remove from fridge.
About 30 minutes before bake time, set out your eggs to come to room temperature.
- As the butter is returning to room temperature, begin to prep your other ingredients:
- Blend your dry ingredients for your cookie dough: in your first prep bowl, whisk together flour, baking soda, salt, and pumpkin pie spice. Set aside.
- Prep your baking sheets with parchment paper and preheat your oven to 375.
- Once the butter is at room temperature (you can test this by pressing your finger into the butter – when it leaves an indentation, it’s ready – this should take about 10 minutes), transfer the butter to large prep bowl and blend(with beaters – this means to beat it until it’s smooth and incorporated).
- Whisk in brown sugar, granulated sugar, and vanilla extract. Beat until fluffy (1-2 minutes).
- Reduce the speed to low and add eggs, one at a time.
- Let the mixture rest for 5 minutes.
- Switch to your rubber spatula and gently fold in flour mixture until just combined. – dough will be very firm. Add 1 cup of your raisins and fold just until combined.
- Scoop out about 2 Tbsp of dough and roll into a ball. Place onto cookie sheet. Continue until you have 12 balls of dough (placed at about 2 inches apart). Place this cookie sheet in the fridge while you prepare the other sheet.
- Once your second sheet is prepared, switch it with the first in the fridge.
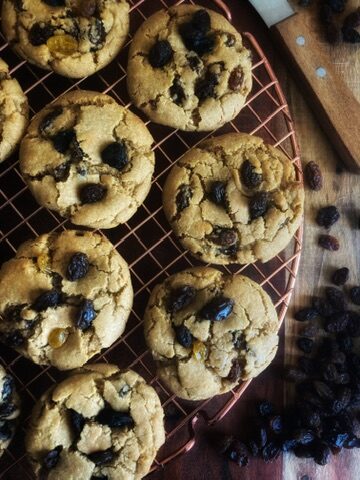
- Bake one tray at a time for 11-14 minutes (the edges should be golden – this takes 14 minutes in my oven).
- Remove your tray from the oven and allow cookies to cool for 5 minutes before moving them to wire cooling rack (I set my cookie tray on the stovetop). *See Tips, Tricks, and Tweaks.
White Chocolate Drizzle
- Let cookies cool (at least 30 minutes).
- Cover cookie sheet with wax paper.
- When cookies are cool, transfer to wax paper covered baking sheet – place them close together so you can drizzle them all once you’ve cut your ziplock bag (see step 20 below).
- Chop your white melting chocolate into chocolate chip sized pieces. Place in microwave safe glass bowl and add vegetable oil.
- Microwave for 30 second increments, stirring between each 30 seconds, until chocolate is smooth. Transfer to ziplock bag.
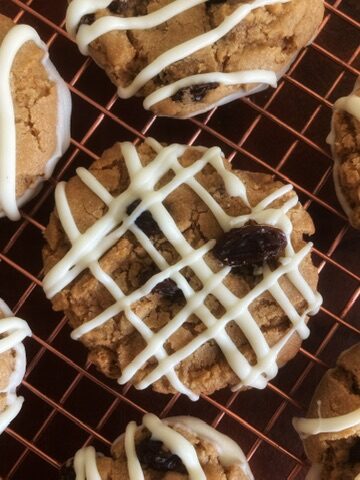
- Cut a small amount off of one corner of the bag, then drizzle your cookies.
- Let chocolate harden.
Serve and Enjoy
*These cookies store well on the counter in an airtight container for 3 days.


Other Options
If you love these (and you love fall flavors), try my Brown Butter Pumpkin Spice Cookies for fall!
Tips, Tricks, and Tweaks
The “Spatula Tap” Maneuver: When cookies bake, often they get poofy. Years ago, I started using the back of a cookie spatula to gently pat my cookies down when they came out of the oven. This technique has served me well – I think it helps to ensure that the cookies cool more evenly on the cookie sheet (for recipes that call for this extra bake time) and it helps my cookies to look better!
The ”Top” Maneuver: as cookies are cooling on baking sheet, top them with a few extra mix-ins and use odd numbers (odd numbers are more visually pleasing). I’ll add 3 or 5 extra raisins to the top of each cookie as they cool! Remember, we eat with our eyes!
The “Wire Rack Swap” Trick: Years ago, I read that you can use paper bags as “cooling racks” for your cookies – and they actually help make your cookies better because a bit of the oil gets drawn out of your baked cookies in the process. If you have extra brown paper grocery bags, give it a try!